
Picture this: a chilly evening, the aroma of homemade soup wafting through the air, and a steaming bowl of comfort in your hands. There’s something magical about crafting a pot of soup from scratch—it’s not just about nourishing your body, but also feeding your soul. But what happens when you make a bit too much or want to save some for later? That’s where the art of soup preservation comes in.
Preserving soup isn’t just about extending its shelf life; it’s about preserving those moments of warmth and flavor for days to come. In this guide, we’ll dive into the world of soup storage and explore expert tips to help you savor every drop of your homemade creations.
Understanding Soup Storage:
When it comes to preserving homemade soup, understanding the factors that affect its shelf life is crucial. Believe it or not, the ingredients you use, your cooking methods, and even the type of containers you store your soup in can all play a role in its longevity.
Let’s start with the basics: temperature control. Soup preservation begins the moment your pot stops simmering. Rapidly cooling your soup is essential to prevent bacteria growth and maintain freshness. Whether you opt for an ice bath or simply divide your soup into smaller portions for quicker chilling, the goal is to get it down to a safe temperature as soon as possible.
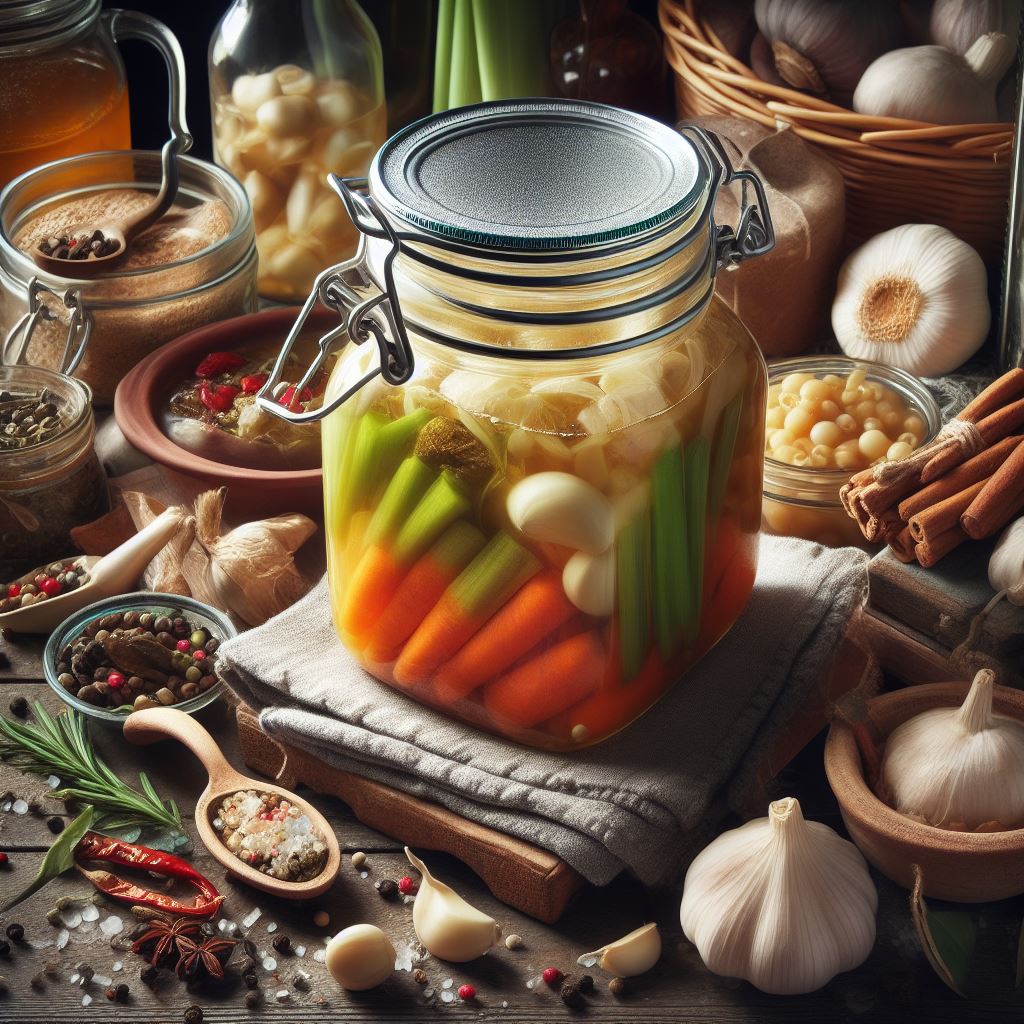
Once your soup is cooled, it’s time to think about storage containers. Airtight containers, glass jars, and freezer bags are all popular choices, but each has its pros and cons. Consider factors like space availability, ease of stacking, and whether you’ll be reheating your soup directly in the container.
Lastly, knowing when to bid farewell to your soup is crucial. Signs of spoilage can include off smells, unusual textures, or visible mold. While it’s tempting to try and salvage a questionable batch, it’s better to err on the side of caution and toss it out.
Essential Equipment and Materials:
Now that we’ve covered the fundamentals of soup storage, let’s talk about the tools of the trade. Just like a painter needs brushes and a canvas, a soup enthusiast needs the right equipment to ensure their creations stay fresh and flavorful.
First up: containers. Choosing the right containers is key to successful soup preservation. Glass jars are great for visibility and reusability, while airtight containers are perfect for stacking in the fridge or freezer. And let’s not forget about freezer bags—they’re space-efficient and allow for easy portioning.
Once you’ve selected your containers, it’s time to think about labeling. Labeling essentials include the date your soup was made, its contents, and any reheating instructions. Trust me, a well-labeled container can save you from many a culinary mystery down the road.
But wait, there’s more! Depending on your preservation method of choice, you may need additional tools to seal the deal. Vacuum sealers are perfect for removing excess air and preventing freezer burn, while canning supplies come in handy if you’re diving into the world of pressure canning or water bath canning.
Armed with the right equipment and materials, you’ll be ready to tackle even the largest batches of soup with confidence. So gather your jars, stock up on labels, and let’s get preserving!
Proper Techniques for Soup Preservation:
Now that you’ve got your containers at the ready, it’s time to master the art of soup preservation. From cooling techniques to safe storage practices, there are a few key steps to ensure your soup stays fresh and delicious for as long as possible.
Let’s start with cooling soup effectively. After simmering your soup to perfection, don’t let it languish on the stove. Instead, transfer it to shallow containers and place them in an ice bath to rapidly chill. This not only prevents bacterial growth but also helps maintain the integrity of your soup’s flavors and textures.
Once your soup is cool, it’s time to decide whether to refrigerate or freeze. Refrigeration is ideal for soups you plan to consume within a few days, while freezing extends the shelf life for weeks or even months. Just be sure to leave enough headspace in your containers to accommodate expansion as the soup freezes.
When filling your containers, remember to leave room for expansion. Trust me, nothing ruins a perfectly good container of soup like a cracked lid or shattered glass. As a general rule of thumb, aim to fill your containers no more than three-quarters full to allow for expansion as the soup freezes.
By mastering these proper techniques, you’ll be well on your way to becoming a soup preservation pro. So grab your ladle and your favorite storage containers, and let’s get preserving!
Maximizing Flavor and Freshness:
Preserving soup isn’t just about keeping it safe to eat—it’s also about ensuring that every spoonful bursts with flavor. Whether you’re storing your soup in the fridge or the freezer, there are a few key strategies you can employ to maximize its taste and freshness.
Let’s start with preventing freezer burn. Nothing is more disappointing than pulling out a container of soup, only to find it covered in icy crystals. To prevent freezer burn, make sure your containers are tightly sealed to keep out excess air. Consider investing in a vacuum sealer for extra protection against freezer burn’s dreaded grasp.
But flavor isn’t just about avoiding freezer burn—it’s also about enhancing the natural taste of your soup. Start by using quality ingredients. Fresh vegetables, aromatic herbs, and flavorful broths can elevate even the simplest of soups. And don’t be afraid to adjust your seasoning to taste. A pinch of salt here, a dash of pepper there—experimentation is key to finding the perfect balance of flavors.
When it comes time to reheat your soup, opt for methods that preserve its taste and texture. Slow, gentle reheating on the stove or in the microwave can help maintain the soup’s integrity, while aggressive heating methods can lead to mushy vegetables and bland broth.
By following these tips, you’ll ensure that every bowl of soup you enjoy is packed with flavor and freshness. So go ahead, ladle yourself a serving, and savor every spoonful!
Long-Term Soup Storage Solutions:
For those who like to plan ahead and stockpile meals for the future, long-term soup storage solutions are a game-changer. Whether you’re looking to fill your pantry with hearty stews or create a stash of comforting broths for a rainy day, there are a few methods you can explore to extend the shelf life of your soups.
One popular option is canning. Canning allows you to preserve your soups in jars at room temperature, eliminating the need for precious freezer space. There are two main methods of canning: pressure canning and water bath canning. Pressure canning is necessary for low-acid foods like soups, while water bath canning is suitable for high-acid foods. Be sure to follow proper canning guidelines to ensure safety and freshness.
Another long-term storage solution is to simply create a soup stockpile in your freezer. By making large batches of soup and freezing them in individual portions, you’ll always have a quick and easy meal on hand. Just be sure to label your containers with the date and contents for easy identification.
Of course, no matter which long-term storage solution you choose, it’s important to periodically check your soups for signs of spoilage. Even the best-preserved soups can succumb to the ravages of time, so stay vigilant and trust your senses.
With these long-term storage solutions in your arsenal, you’ll be well-equipped to keep your pantry stocked with delicious, homemade soups for months to come. So roll up your sleeves, fire up the stove, and start preserving!
Troubleshooting Common Issues:
Even the most seasoned soup aficionados can run into trouble from time to time. Whether it’s a soup that’s separated, grainy, or just not tasting quite right, knowing how to troubleshoot common issues can save the day and salvage your meal.
Let’s start with texture changes. If your soup has separated, with the broth floating on top and the solids sinking to the bottom, fear not. Simply give it a good stir to reincorporate the ingredients and restore its homogeneity. If your soup has become grainy, it may have been overcooked or subjected to rapid temperature changes. Try blending it with an immersion blender to smooth out the texture.
Off-flavors can also be a common issue when it comes to stored soups. If your soup tastes off, it could be due to improper storage or spoilage. Trust your senses—if it smells funky or tastes strange, it’s best to err on the side of caution and discard it.
And what about freezer burn? If your soup is covered in icy crystals and tastes stale, it’s likely suffering from freezer burn. While freezer burn won’t make your soup unsafe to eat, it can certainly affect its taste and texture. To salvage freezer-burned soup, try masking the off-flavors with bold seasonings like garlic, onion, or spices.
By knowing how to troubleshoot common issues, you’ll be able to tackle any soup-related mishaps with confidence. So don’t let a separated broth or off-flavor ruin your meal—get creative, experiment, and turn those culinary challenges into triumphs!
You’ve now embarked on a journey into the delightful world of soup preservation. From mastering the art of cooling to exploring long-term storage solutions, you’ve learned valuable tips and techniques to keep your homemade soups fresh and flavorful for days, weeks, and even months to come.
But remember, this guide is just the beginning. Soup preservation is as much an art as it is a science, and there’s always more to explore and discover. So don’t be afraid to experiment with different ingredients, storage methods, and flavors. After all, the joy of homemade soup lies not just in the eating, but in the creating.
As you continue on your soup-preservation journey, remember that everyone’s tastes and preferences are unique. What works perfectly for one person may not be quite right for another. So trust your instincts, follow your palate, and most importantly, have fun!
And with that, I bid you happy cooking and happy preserving. May your soups always be delicious, your containers always be full, and your culinary adventures always be exciting. Here’s to many more cozy evenings and steaming bowls of comfort. Bon appétit!

